Installing a new outside faucet is a great way to improve your outdoor experience. Not only you will have easier access to water when watering plants or filling up buckets, but you’ll also add a touch of style to your home’s exterior. In this article, we’ll walk you through the process of installing an outside faucet using Pex pipe. Let’s get started!
- Step by Step Guide on How to Install an Outside Faucet with Pex
- Shut off the water to your house by turning off the main valve
- Cut the copper tubing coming out of your wall with a tubing cutter
- Strip 3/4″ of insulation from each end of the tubing
- Connect the PEX fittings to each end of the copper tubing using a crimping tool
- Turn on the water and check for leaks – if there are any, tighten the fittings with a wrench
- Attach your hose bib to the threaded fitting on your faucet and turn on the water
- Additional ways on how to install an outdoor faucet with Pex
- What are its benefits for a garden faucet installation?
- Tips on how to avoid common mistakes made during work on water faucet outside
- Tips for winterizing your outside water spigots
- FAQs
Step by Step Guide on How to Install an Outside Faucet with Pex
Shut off the water to your house by turning off the main valve
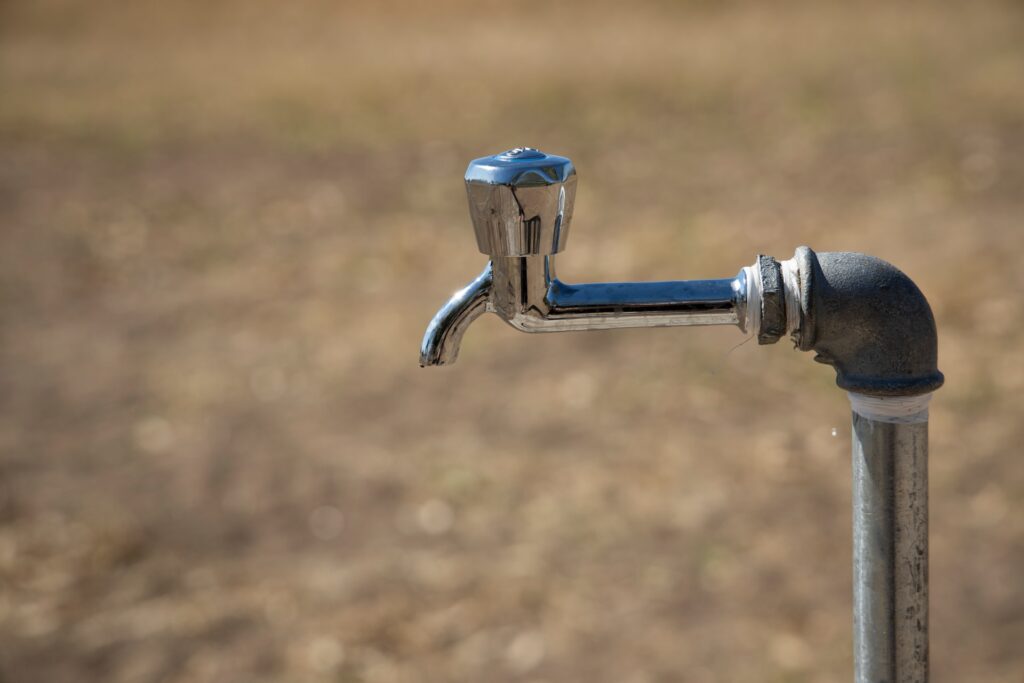
Most homes have an outdoor faucet, which is a great convenience when watering plants or washing the car. However, if your outdoor faucet is leaking, it can waste a lot of water and increase your water bill. Fortunately, it’s relatively easy replacing the outdoor faucet with PEX piping. PEX is a type of flexible plastic tubing that is easy to work with and doesn’t require soldering.
To install an outside faucet with PEX, you’ll need to shut off the water to your house by turning off the main valve. Then, you’ll need to drill a hole through the wall of your house and run the PEX tubing through it. Once the tubing is in place, you’ll need to connect it to the outdoor faucet and turn on the water. With a few simple tools and some basic plumbing knowledge, you can easily install an outside faucet with PEX.
Cut the copper tubing coming out of your wall with a tubing cutter
When installing an outside faucet with PEX, it is important to cut the copper tubing coming out of your wall with a tubing cutter. This will ensure that the connection is secure and will not leak. It is also important to make sure that the tubing cutter is the correct size for the tubing you are using. If the tubing cutter is too small, it may not cut through the tubing completely and could cause problems later on.
On the other hand, if the tubing cutter is too large, it may damage the copper tubing or even break it. Therefore, it is important to choose the right size tubing cutter for your project.
Strip 3/4″ of insulation from each end of the tubing
During the process, it is important to strip 3/4″ of insulation from each end of the tubing. This will ensure that the connections are secure and there is no risk of leaks. It is also important to make sure that the tubing is cut squarely so that it will fit snugly into the fitting. If the tubing is not cut squarely, it may leak. Finally, it is important to use primer and solvent cement when attaching the PEX tubing to the fitting. This will create a watertight seal and prevent leaks.
Connect the PEX fittings to each end of the copper tubing using a crimping tool
It is important to connect the PEX fittings to each end of the copper tubing using a crimping tool. This will ensure a watertight seal and prevent any leaks. First, cut the copper tubing to the desired length using a pipe cutter. Next, use a deburring tool to remove any burrs from the cut ends of the tubing. Then, slide a PEX fitting onto each end of the tubing and use the crimping tool to secure the fittings in place.
Turn on the water and check for leaks – if there are any, tighten the fittings with a wrench
Before you begin installing your outside faucet with Pex, it is important to check for leaks. To do this, simply turn on the water and see if any water is dripping from the fittings. If there are any leaks, use a wrench to tighten the fittings until they are snug. Once you have confirmed that there are no leaks, you can proceed with the installation process. Pex is a great material for outside faucets because it is durable and resistant to freezing temperatures.
Attach your hose bib to the threaded fitting on your faucet and turn on the water
The last step is to attach your hose bib to the threaded fitting on your faucet and turn on the water. This will ensure that your outside faucet is properly installed and will not leak. If you do not have a threaded fitting on your faucet, you can purchase one at a hardware store.
Once you have attached the hose bib, turn on the water and test the connection for leaks. If there are any leaks, tighten the fitting or replace the washer.
Additional ways on how to install an outdoor faucet with Pex
In addition to the traditional methods of installation, there are a few other ways that you can install an outdoor faucet with Pex. One method is known as the double-barbed fitting method. This method involves installing a barbed fitting on both the incoming and outgoing water lines.
The advantage of this method is that it provides a tight seal and is less likely to leak. However, it is important to note that this method requires special tools and knowledge, so it is best left to the professionals. Another option is known as the compression fitting method. This method uses a rubber gasket to create a seal between the fittings and the pipe.
This option is less likely to leak, but it can be difficult to install if you don’t have experience. Regardless of which method you choose, be sure to follow the manufacturer’s instructions carefully in order to ensure a successful installation.
Tools and materials needed for the job
The most important thing to remember is to take your time and follow the instructions carefully. Here is a list of the tools and materials you will need
– Pex tubing
– Outdoor faucet
– Hose adapter
– Hose clamp
– Drill
– 1/2″ drill bit
– Adjustable wrench
– Teflon tape
– Silicone caulk
– Hammer
– Screwdriver
With these supplies on hand, you’ll be ready to tackle the project. Just be sure to read the instructions thoroughly before getting started, and you’ll be enjoying your new outdoor faucet in no time.
What are its benefits for a garden faucet installation?
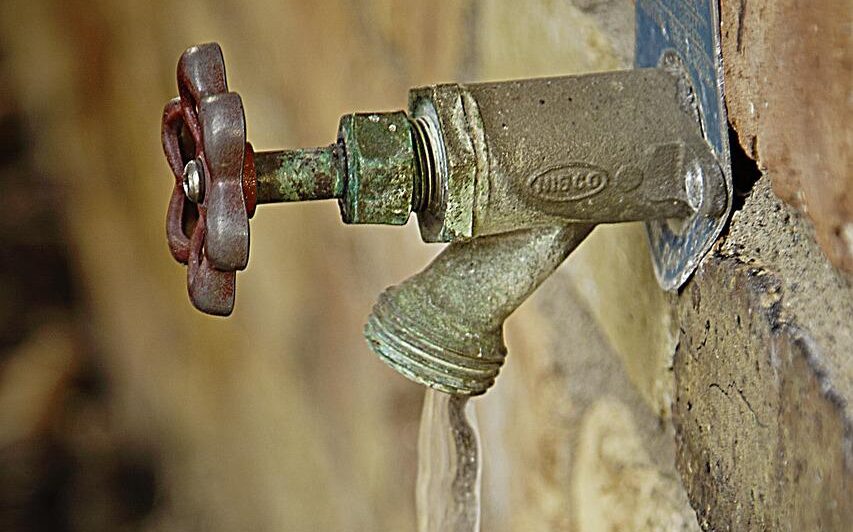
One of the great things about having an outside faucet is the ability to water your plants without having to lug around a hose. However, if you don’t have pex installed, your outside faucet can be a major source of water waste.
When watering with a hose, water can easily seep out of the connection between the hose and the faucet, causing wasted water and potential damage to your foundation. Most importantly, It is a DIY project. DIY outdoor faucet post results are worth watching as it is long term and most beneficial project.
With pex, there’s no such risk because the material is flexible and creates a tight seal. As a result, you can feel good about helping to conserve water while also making your gardening easier. Installation is relatively simple and well worth the effort.
Tips on how to avoid common mistakes made during work on water faucet outside
One of the most common mistakes made when working on an outdoor water faucet is not properly preparing the surface before starting. This can include not cleaning the surface or not using a primer. Not preparing the surface can cause the paint to not adhere properly and result in an uneven finish. Another common mistake is not allowing enough time for the paint to dry completely before reassembly.
This can cause the newly painted parts to stick together and create an uneven finish. Finally, not using a clear coat can also lead to an uneven finish and decreased protection from the elements. By following these simple tips, you can avoid common mistakes and ensure a high-quality finish on your next outdoor water faucet project.
Tips for winterizing your outside water spigots
As the temperatures start to drop, it’s important to take some time to winterize your outside water spigots. This will help to prevent them from freezing and bursting, which can cause extensive damage. Here are some simple tips to follow
– Start by disconnecting any hoses that are attached to the spigots
– Next, open up the water spicket to allow any remaining water to drain out
– Finally, wrap the spigot with an insulating material, such as Foam Pipe Insulation or a similar product
By taking these simple steps, you can help to protect your outside water spigots from the cold weather. Also, if you want to buy the outdoor faucet then visit here.
FAQs
How do you install a PEX faucet outside the water line?
The first step is to shut off the water to the house. Next, you’ll need to drill a hole in the exterior wall for the PEX tubing. Once the hole is drilled, you’ll feed the PEX tubing through it and into the house. Then, you’ll attach the faucet to the tubing and turn the water back on. Finally, you’ll need to caulk around the outside of the faucet to create a water-tight seal.
How do you replace an outdoor spigot with PEX?
You’ll need to remove the old spigot first. Once the old spigot is removed, you’ll install the new one. Then, you’ll need to feed the PEX tubing through the hole in the exterior wall and into the house. Finally, you’ll turn the water back on.
How do I run an outside water line?
It starts with making sure that you don’t accidentally damage any pipes while you’re digging. Next, determine the best route for the water line to take. Once you have a plan, start digging a trench that is large enough to accommodate the pipe. Finally, lay the pipe in the trench and connect it to your existing water supply.
Where should you not use PEX with outdoor water lines?
PEX should not be used in an area where it will be exposed to direct sunlight for extended periods of time, as this can cause the material to degrade. Additionally, PEX should not be used with chemicals that can potentially damage the pipe, such as bleaches or strong acids.
How to extend the outside water faucet?
If you need to extend an outside water faucet or groundwater spigot, the easiest way to do it is with a PEX extension kit. These kits come with everything you need to extend the outdoor water pipe, including the PEX tubing, fittings, PEX hose bib, and clamps.
What are the benefits of pex spigot?
It is much easier to install than traditional copper piping. PEX is also much more flexible, which makes it ideal for applications where space is limited. Additionally, PEX is resistant to both freezing and bursting.
Also, check out the best wall mount bathroom faucet.