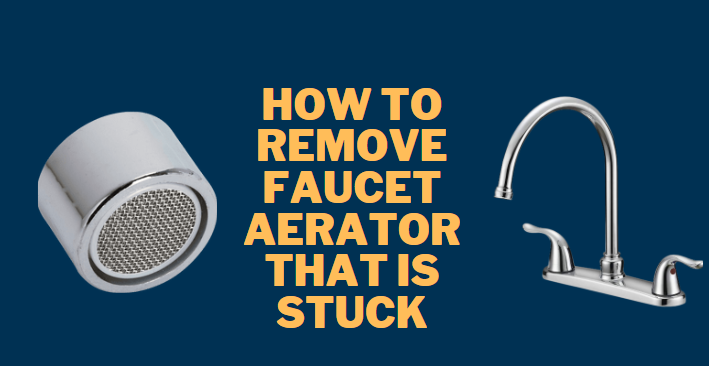
There are all sorts of things that can go wrong with a faucet. One common problem is when the aerator becomes stuck and water cannot flow through it smoothly. In this blog post, we will show you how to remove the aerator and fix the problem. Stay tuned for our helpful tips!
Step-by-step Guide Of How to Remove Faucet Aerator That is Stuck
If your faucet has an aerator, it’s important to know how to remove it so you can clean it or replace it as needed. Fortunately, this is a relatively easy process that only requires a few tools. There are certain ways to do that. Some of them are given
Ways to Remove Aerator from Faucet
Remove a Faucet Aerator By Hand
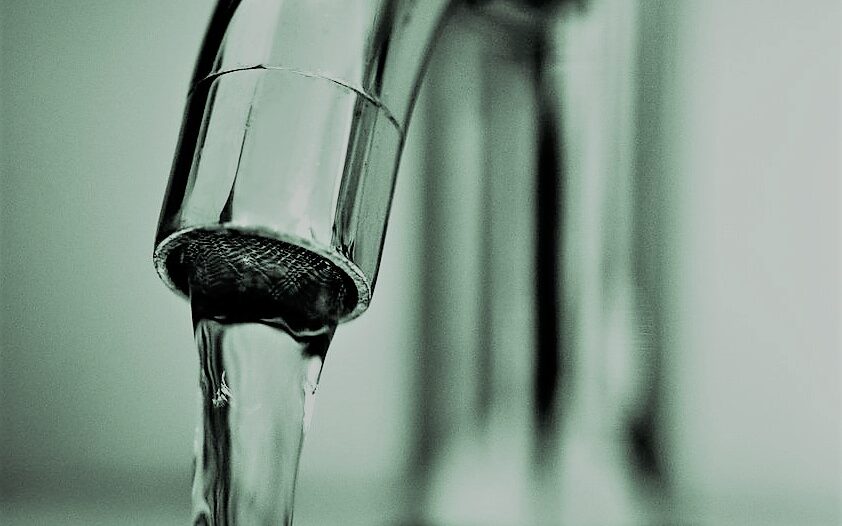
Faucet aerators can become clogged with mineral deposits, zinc, and other metals. Over time, this can cause the aerator to reduce the water flow or become completely blocked. If your faucet aerator is beginning to slow down, it’s a good idea to remove it and clean it by hand. This will help to restore water flow and improve the quality of your water.
To remove a faucet aerator by hand, start by unscrewing the cap at the end of the faucet. Then, use a pair of pliers to unscrew the aerator from the faucet itself. Once the aerator is removed, use a brush to clean away any debris or deposits that have accumulated on it. Finally, screw the aerator back into place and replace the cap. With these simple steps, you can easily clean your faucet aerator by hand and keep your water flowing freely.
Remove a Faucet Aerator with Pliers
Over time, these aerators can become clogged with mineral deposits, which can reduce water flow and cause an unpleasant dripping sound. Fortunately, they are easy to clean or replace. In most cases, all you need is a pair of pliers
To remove an aerator, simply grip it with the pliers and unscrew it from the faucet. If it is stuck, you may need to use a little force. Once the aerator is loose, take it apart and clean out any debris that is clogging the screen. If the aerator is severely damaged, you may need to purchase a new one
Once you have cleaned or replaced the aerator, screw it back into place and turn on the water to test it. If all goes well, you should notice an improvement in water flow and a decrease in dripping noise.
Remove a Faucet Aerator with a Rubber Wrench
Most aerators can be removed by hand, but if it’s stuck, you can use a rubber wrench to loosen them. Start by shutting off the water supply to the faucet. Place the rubber wrench over the aerator and turn it counterclockwise. If the aerator is still stuck, try using a pair of pliers to help remove it. Once the aerator is loose, pull it out and clean the screen with a brush or cotton swab.
You may also need to soak it in vinegar to dissolve any stubborn buildup. Rinse the screen thoroughly and reattach the aerator. Finally, turn on the water supply and test the faucet to make sure it’s working properly
Remove a Faucet Aerator with a Heat
To clean the aerator and restore full water pressure, you’ll need to remove it from the faucet. This can usually be done by unscrewing it by hand, but if it’s too tight, you can try using a heat gun. First, set the heat gun to its lowest setting and hold it about six inches from the aerator. Then, gradually increase the heat until you see the metal start to expand.
Once the metal is hot enough, you should be able to unscrew the aerator with your hands. Just be careful not to touch the hot metal with your skin. Finally, once the aerator is removed, rinse it off with vinegar or soapy water to remove any residual mineral deposits.
Remove a Faucet Aerator with Vinegar
The problem of mineral deposits can be easily solved by soaking the aerator in vinegar for a few hours. This will break down the deposits and restore your aerator to its original condition. To remove a faucet aerator with vinegar, simply unscrew the aerator from the faucet and soak it in a bowl of vinegar for a few hours.
Once the deposits have been dissolved, rinse off the aerator and screw it back into place. With just a little bit of effort, you can keep your faucet aerators clean and free-flowing.
Remove a Faucet Aerator with WD-40
However, you don’t need to worry much to fix the problem. With a little WD-40 and some elbow grease, you can clean the aerator and have your faucet working like new in no time. First, unscrew the aerator from the faucet and soak it in a bowl of WD-40 for a few minutes. Next, use an old toothbrush or other soft brush to scrub away any deposits.
If the deposits are particularly stubborn, you may need to soak the aerator overnight. Finally, rinse off the WD-40 and screw the aerator back in place. With a little effort, you can keep your faucet working smoothly for years to come
Call a Plumber
If you have a faucet with an aerator, you’ll need to call a plumber to have it removed. Aerators are small devices that attach to the end of a faucet and help to regulate the flow of water. They’re typically made of metal or plastic, and they have a little screen that channels out residue and trash. After some time, these screens can become stopped up, and the aerator should be eliminated to clean it.
While you can remove an aerator yourself, it’s best to leave this task to a professional. Plumbers have the tools and experience needed to safely remove an aerator, and they can also clean the faucet itself if necessary. So, if you’re having problems with your faucet, be sure to call a plumber for help.
Faucet Aerator Removal Tools
While most aerators can be removed by hand, some may require the use of a removal tool. The size and type of removal tool will vary depending on the type of aerator being removed
Common types of faucet aerators include
– Standard: These aerators have a small screen that covers the end of the faucet, with holes of varying sizes that allow water to pass through. Most standard aerators can be removed by unscrewing them by hand
– Cache: Cache aerators have a small disk with holes in it that fits over the end of the faucet. They are often used in low-flow fixtures, and can usually be removed by unscrewing them by hand
– Flow Restrictor: Flow restrictors are small devices that limit the amount of water that can flow through a faucet. They are often used in high-flow fixtures and may require the use of a removal tool to remove them.
Ways to Remove Aerator Without Tool
Although aerators are designed to be installed with a tool, there are a few ways to remove them without one. The first method is to use a pair of pliers. Simply grip the aerator with the pliers and twist it counterclockwise. This may take some effort, but it should eventually loosen the aerator enough to be removed by hand. The second method is to hammer the aerator out. Place a block of wood over the aerator and gently tap it with a hammer until it pops out.
Start in the middle and work your way around the edges until the entire aerator is removed. With either of these methods, be careful not to damage the faucet threads. Once the aerator is removed, you should be able to clean it and reinstall it without any issues.
Reasons for a Stuck Aerator:
Mineral Build-ups
A common issue that can cause an aerator to become stuck is mineral build-up. Over time, minerals such as calcium and magnesium can accumulate in the soil, making it harder for the aerator to penetrate. This is often a problem in areas with hard water, as the minerals can be deposited on the lawn by rain or irrigation. If you suspect that mineral build-up is preventing your aerator from working properly, you can try flushing the soil with water to remove the deposits.
Another option is to use an acid-based cleaner, which will dissolve the minerals and allow the aerator to move more freely. With either method, it’s important to take care not to damage the grass or soil while you are working. By taking these steps, you can help ensure that your aerator will be able to do its job effectively.
Old aerator
One of the most common causes of a stuck aerator is simply old age. Over time, aerators can become clogged with dirt and debris, making it difficult for them to turn. In addition, the seals and gaskets that keep the aerator components in place can break down, allowing water to leak into the system. If you suspect that your aerator is starting to fail, it’s important to have it inspected by a qualified technician.
They will be able to clean the system and make any necessary repairs. With proper care, an aerator can last for many years. However, eventually, even the best-maintained aerators will need to be replaced. When that time comes, be sure to choose a high-quality replacement that will provide years of trouble-free operation.
Corrosion
If you’ve ever had an issue with your aerator getting stuck, it could be due to corrosion. Over time, the metal components of the aerator can start to break down and corrode, which can ultimately lead to the aerator getting stuck in place. In order to prevent this from happening, it’s important to regularly maintain and clean your aerator. By keeping the metal clean and free of corrosion, you can help to ensure that your aerator will function properly in a long run.
Low Flow
If the water flow is too low, it can cause the aerator to become clogged with sediment, which can then prevent it from rotating properly. In addition, low water pressure can also make it difficult for the aerator to mix the air and water properly, which can lead to it becoming stuck.
To avoid this problem, it is important to make sure that the water pressure is set at the proper level and that there is adequate flow before using an aerator. Doing so will help to ensure that the aerator operates properly and doesn’t become stuck.
Water Coming Out of One Side
This can happen if the aerator is not properly seated in the ground or if there is a blockage in the waterline. If you suspect that water is coming out of one side, check to see if the aerator is properly seated and clear any debris from the waterline. If the problem persists, contact a plumber for help.
FAQs
Are there any non-removable faucet aerators?
Aerators that are non-removable typically have a screen that can be unscrewed and removed for cleaning purposes. However, it is not possible to remove the entire aerator from the faucet.
How do you clean a stuck aerator?
If your aerator is stuck, you can try flushing the soil with water to remove any deposits that might be preventing it from moving. Alternatively, you can use an acid-based cleaner to dissolve the deposits. Be sure to take care not to damage the grass or soil while you are working.
How to remove a Moen aerator without a key?
If you’re wondering how to remove the aerator from the kitchen faucet, it’s not a hard task. If you do not have a key for your Moen aerator, you can try using a pair of needle-nose pliers to remove it. Be careful not to damage the aerator while you are working. You may also need to use a wrench to loosen the aerator before you can remove it. You can also check the price of Moen Two-Handle Wall Mount.
How to remove a hidden aerator from a Delta kitchen faucet?
To remove a hidden aerator from a Delta kitchen faucet, you will need to use a special tool that is included with the faucet. The tool is designed to remove the aerator without damaging the finish of the faucet.
Also, read the best undermount kitchen sinks for quartz countertops.